Rsync is a great tool to use when you’re moving large files between a server. Reclaim uses it often when working through migrations. To start, you’ll want to make sure you’re logged into the server where the content currently is.
Then you’ll want to run the following command
‘rsync -avz . xxx@serverhostname.reclaimhosting.com:path_to_folder/’
First, let’s break down the command as a whole. ‘rsync’ literally means Remote Sync. This command allows you to copy and sync file and folders from one location to another. You’ll need that part of the command first to ensure you’re running the rsync command.
Then you’ll see another piece of the common ‘-avz.’ These are additional options you can choose when running the command.
- ‘a’ means archive, which copies files/folders in a recursive manner while maintaining the current settings of each file. So the archive function will preserve settings like file permissions and ownership.
- ‘v’ means verbose, which will give you additional information when running the command. It will print out like a log file to show you the progress of the rsync
- ‘z’ means compression, so the command will compress the files before moving them to the new location. This will save you time when working through the move.
The next bit of the command is ‘. xxx@serverhostname.reclaimhosting.com’ which specifies where you’re moving the content. In most cases, for server admins, it will look like ‘. root@servername.reclaimhosting.com.’ So in my case, meredithhuffman.com currently sits on x.reclaimhosting.com. If I was using the rsync for my personal account, I would use meredith@reclaimhosting.com for this part of the command. If I was migrating another user’s account, I would use root@x.reclaimhosting.com. You can even use the IP address as the server name.
Finally, you’ve got ‘:path_to_folder/’ which serves as the destination. You’ll want to use the full path depending on what user privilege you used to sign in. If I was used meredith@x.reclaimhosting.com, I would use :public_html/ for the last bit of the command. If I was signing in as root, I would use :/var/www/webroot/ROOT/ for the end of the code.
So once you run the code, you’ll be prompted to input a password. you’ll want to use the cPanel password for the account, or the root password if needed.
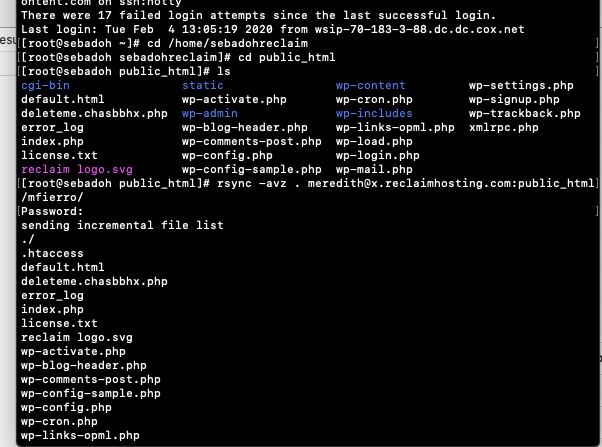
As an example, I decided to move WordPress files from a test WordPress site on another server to one of my accounts. I logged into the server, then changed directory to the WordPress site in public_html. Then I ran the command

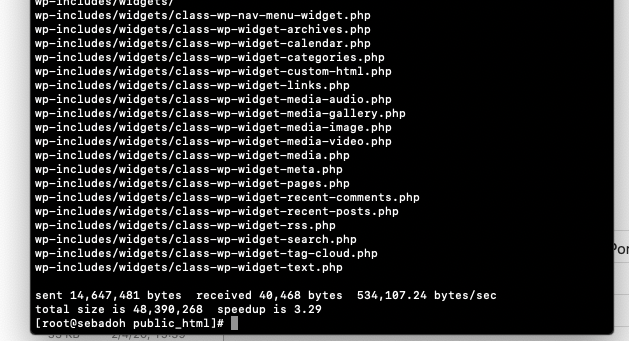
From there, I got an output and running list of all processes to my account:

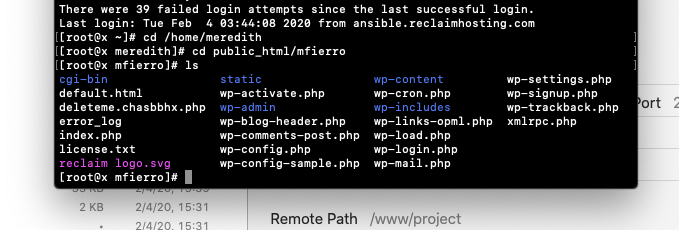
Once that’s done, you’ll see all the files in the new location!

From there, I usually will run the fixperms script on the account, just to confirm that all permissions are correct. That is run at the root of the server ‘sh fixperms.sh -a cPanelusername’
